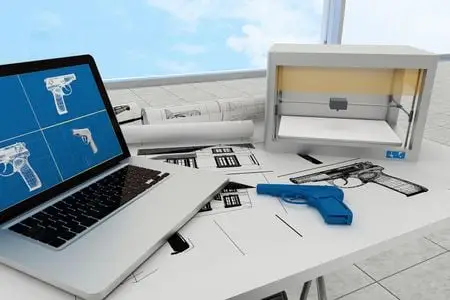
When it comes to 3D printing in Lebanon, optimizing your CAD files for successful printing is essential to achieve the best results. Whether you are designing a custom 3D print cube, a complex architectural model, or industrial parts for a 3D factory, file optimization ensures your design translates accurately from the digital world to the physical one. In this blog, we’ll walk you through key steps to optimize your CAD files for 3D printing success.
1. Choose the Right CAD Software
Selecting the right CAD software is the first step toward optimizing your files for 3D printing. Popular options like SolidWorks , Fusion 360, and TinkerCAD offer advanced features that allow you to create 3D models suited for printing. Make sure your CAD software can export files in a format compatible with your 3D printer, typically STL or OBJ files.
2. Ensure Proper Model Scale and Dimensions
One of the most common issues when printing 3D models is improper scaling. Ensure that your CAD model is scaled to the right size, especially when creating larger parts for industries or making a detailed, custom print for the home. Using real-world measurements in your design helps prevent the need for adjustments during the printing process. Pay close attention to tolerances, as even slight deviations can affect how parts fit together, particularly in mechanical or industrial applications.
3. Check for Watertightness (Manifold Models)
For successful 3D printing, your CAD model must be “watertight,” meaning it must have no holes or non-manifold edges. Non-manifold edges are problematic because they can confuse the 3D printer’s slicing software, leading to incomplete prints or failed prints altogether. Most 3D design software will allow you to check for errors such as gaps or open meshes. Repair these issues using built-in tools or software like Meshmixer to ensure the model is solid.
4. Simplify Complex Geometry
While modern 3D printers are capable of printing highly intricate designs, it’s always a good idea to simplify complex geometries in your CAD file before sending it to the printer. Overly complex parts can result in increased print times and failure due to printer limitations. Remove unnecessary details, sharp corners, or unsupported overhangs where possible, or break your model into smaller, easier-to-print parts that can be assembled later.
5. Optimize for Supports
Certain 3D prints may require support structures to ensure they print correctly. Consider how the model will be printed when designing in CAD software. Overhangs, for instance, often need supports to maintain their shape during the print. When designing for 3D printing in Lebanon, use your CAD software to orient the model in a way that minimizes support material and ensures a smoother print. Many software tools also offer automatic support generation.
6. Reduce Wall Thickness and Adjust Infill Settings
Adjusting the wall thickness and infill settings in your CAD file can help balance the strength and weight of your print while saving material. Thicker walls can improve durability, but they can also increase print time and material usage. Infill patterns such as honeycomb or grid can optimize material distribution and reduce print time while maintaining structural integrity. By fine-tuning these settings, you can achieve optimal strength-to-weight ratios for your parts, especially when working with functional prototypes or industrial components.
7. Export to the Correct File Format
Once your CAD model is optimized, export it in the correct file format for 3D printing. The most common file formats are STL (stereolithography) and OBJ, which are widely supported by 3D printers and slicing software. Ensure the file is saved in the appropriate resolution to avoid unnecessary detail that could slow down the printing process or create overly large files.
8. Test the Model with Slicing Software
Before sending the CAD file to the 3D printer, it’s crucial to run it through slicing software such as Cura, PrusaSlicer, or the printer’s native software. This process converts your 3D model into a series of layers and generates the instructions the 3D printer will follow. Most slicing software also includes a feature that simulates the print, so you can detect potential issues like overhangs, inadequate supports, or weak points in the design before printing the actual part.
9. Consult with a CAD Service Provider
If you’re new to 3D printing or feel unsure about optimizing your CAD files, consulting a CAD service provider in Lebanon can help. Experts can guide you through the process, suggest adjustments, or even provide professional file optimization services to ensure your model is 3D printing-ready. At Manifest 3D, we offer CAD services in Lebanon to help you bring your designs to life with precision and reliability.
Conclusion
Optimizing your CAD files for 3D printing is a critical step to ensuring your projects turn out exactly as intended. By using the right software, checking for errors, simplifying complex geometry, and adjusting for optimal supports and material usage, you can set your 3D prints up for success. At Manifest 3D, we offer comprehensive CAD services and expert guidance on file preparation for 3D printing in Lebanon, helping you turn your designs into high-quality printed products. Reach out to us today for assistance with your next 3D printing project!
Copyright 2024, All Rights Reserved
